
Moving documents to trash
Moving Documents to Trash
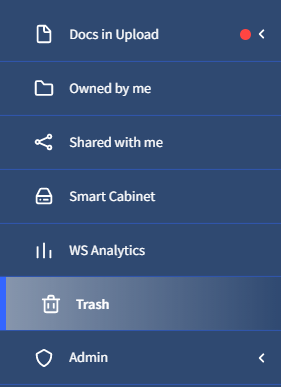
dox2U lets you temporarily delete your documents within your workspace by moving them to Trash [icon]. All your deleted documents are stored in your dox2U Trash until you decide to permanently delete your documents.
💡Alternately, your Workspace Administrator could also choose to empty all Trash from the workspace or define a specific duration for maintaining Trash documents
You can also delete documents not Owned by you (but shared with you) if you have the rights for this assigned by your Workspace Administrator. Such documents, however, once deleted will be moved to the Trash belonging to the document Owner.
dox2U lets you delete files in your workspace to trash from anywhere within your workspace, except for ‘My Queue’. To move documents to Trash, follow these steps.
Step 1: Select the document(s) that you want to delete. Use [ctrl] (Windows / Linux), [cmd] (Mac) or [shift] to select multiple documents.
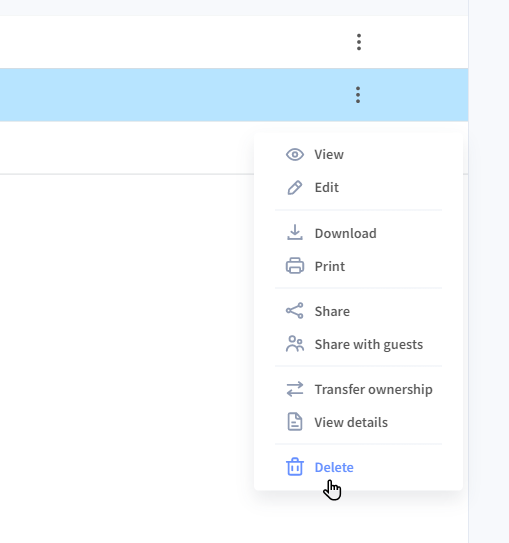
Step 2: Click the menu button and select Delete.
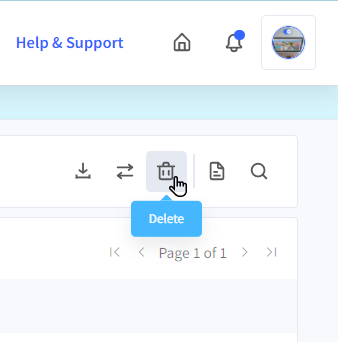
💡Alternatively, you can move a document to Trash by selecting document(s) and using the “Delete” button
given in the action bar.
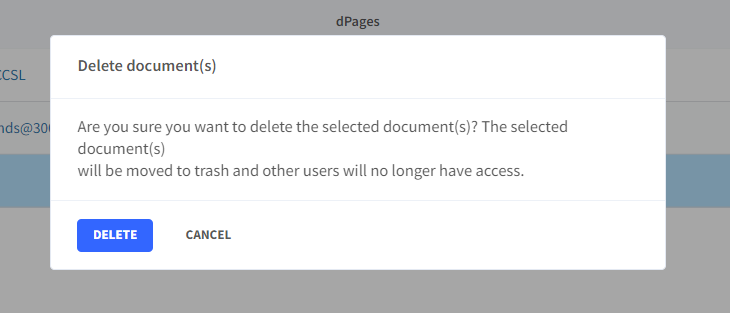
Step 3: In the dialogue box that pops us, press “Delete” to continue with the delete process or press “Cancel” to abort.
📓Things to Note
- You can only delete docs where you are the Owner. To delete a doc that is shared with you but owned by someone else, you must have the “Delete Document” right enabled. Understand rights in dox2U.
- You can only delete one document at a time under the “Last Accessed” page.
- Trash is user-specific. Only documents where you are the Owner get sent to your Trash.