
Guide: Understanding Document Deletion
Moving Documents to Trash
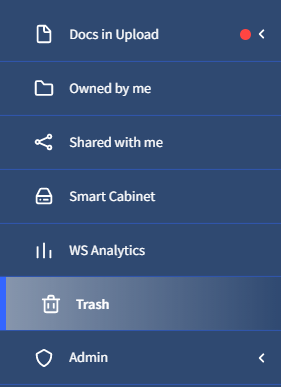
dox2U safeguards all your documents by moving deleted documents to Trash [icon] instead of removing them right away. This can help you recover these documents if needed. All your deleted documents are stored in your dox2U Trash until you decide to permanently delete your documents.
💡 Alternately, your Workspace Administrator could also choose to empty all Trash from the workspace or define a specific duration for maintaining Trash documents.
You can also delete documents not Owned by you (but shared with you) if you have the rights for this assigned by your Workspace Administrator. Such documents, however, once deleted will be moved to the Trash belonging to the document Owner.
dox2U lets you delete files in your workspace to trash from anywhere within your workspace, except for ‘My Queue’. To move documents to Trash, follow these steps:
Step 1: Select the document(s) that you want to delete. Use [ctrl] (Windows / Linux), [cmd] (Mac) or [shift] to select multiple documents.
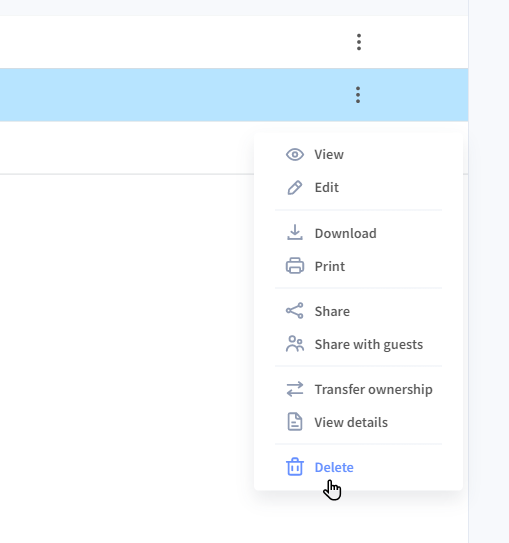
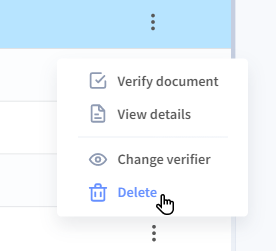
Step 2: Click the menu button and select Delete.
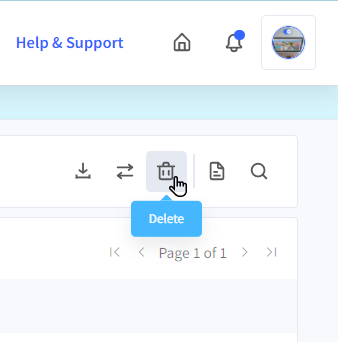
💡Alternatively, you can move a document to Trash by selecting document(s) and using the “Delete” button
given in the action bar.
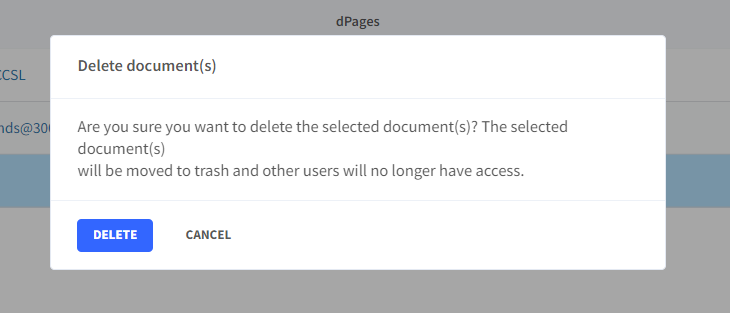
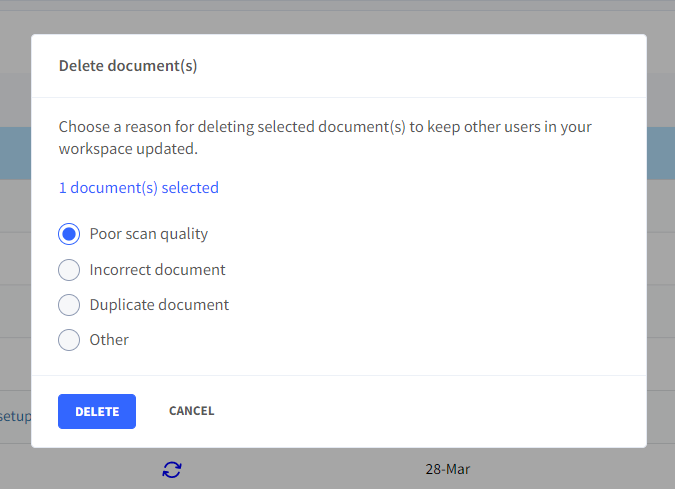
Step 3: In the dialogue box that pops us, press “Delete” to continue with the delete process or press “Cancel” to abort.
📓Things to Note
- You can only delete docs where you are the Owner. To delete a doc that is shared with you but owned by someone else, you must have the “Delete Document” right enabled. Understand rights in dox2U.
- You can only delete one document at a time under the “Last Accessed” page.
- Trash is user-specific. Only documents where you are the Owner get sent to your Trash.
How to Empty your dox2U Trash?
Emptying your dox2U Trash is one way to permanently delete your documents from your Workspace. We recommend regularly emptying your Trash because documents in Trash count towards your billed dPages
🙋Who can perform this function?
Only documents that you own can be moved to your Trash. By default, all members can delete docs where they are the Owner, by emptying their Trash.
Let us see how to empty your trash.
Step 1: Select the document(s) that you want to delete. Use [ctrl] (Windows / Linux), [cmd] (Mac) or [shift] to select multiple documents.
Step 2: Click the menu button 
💡Alternatively, you can delete all documents from your Trash at once by using the “Empty Trash” button from the action bar.
Step 3: In the dialogue box that pops us, press “Delete” to continue with the delete process or press “Cancel” to abort.
Permanently Deleting a Document with dox2U
dox2U lets you permanently delete documents present either in My Queue or in Trash. Once deleted from these two pages, your document gets permanently deleted from the Workspace.
📓NOTE: You cannot restore a document that has been permanently deleted. In the case where a document is deleted by mistake, you will be required to re-upload that particular doc.
Permanently Deleting Document(s) from My Queue
‘My Queue’ is a list of all the documents that have been uploaded to your dox2U Workspace but have not been verified yet. Since a document is added to your Workspace only after it has been verified, deleting a document from My Queue will delete it permanently.
Step 1: Select the document(s) that you want to delete. Use [ctrl] (Windows / Linux), [cmd] (Mac) or [shift] to select multiple documents.
Step 2: Click on the menu button (3 dots icon) → delete.
Step 3: Confirm your action and select a reason for deletion in the popup shown.
[SCREENSHOT]
Permanently deleting document(s) from Trash
To permanently delete document(s), you can simply follow the steps to empty your dox2U Trash.
📓NOTE: Files in your Trash still occupy your space in your Workspace. Therefore, it is always advised to empty your Trash [link to emptying trash article] regularly
Let us see how to delete a document(s) from Trash.
Step 1: Select the document(s) that you want to delete. Use [ctrl] (Windows / Linux), [cmd] (Mac) or [shift] to select multiple documents.
Step 2: Click on the menu button (3 dots icon) → delete.
Step 3: Confirm your action and select a reason for deletion in the popup shown.
[SCREENSHOT]