
Guide: Workspace General Settings
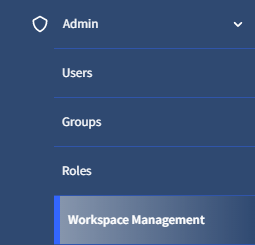
With dox2U, you can easily set up a Workspace by accessing the Admin section provided in the side menu of the Dashboard
This section allows you to customize your Workspace the way you wish to work and establish fundamental guidelines for all your team members.
📓Things to be noted
- This functionality is available only for the Owner, Admin or any user with Workspace Management right enabled on the Workspace. To set up a Workspace, you must have the “Workspace Management” right enabled. Understand rights in dox2U
Understanding General Settings of Workspace Settings
From here, you can define several settings which govern how your workspace members use dox2U and give you the flexibility to customize your experience. The settings available are:
1. Upload your Workspace's Logo
2. Inviting new members to your Workspace
3. Display User name guidelines
4. Display the user's e-mail address and contact number
5. Set up your Workspace's Time zone
6. Set the date and time format that you prefer to use across your Workspace
7. Modify your Workspace name and URL
8. The setting for Audit Log
9. Define timelines for a session's termination
Let us understand each of the above in detail
Upload your Workspace's Logo
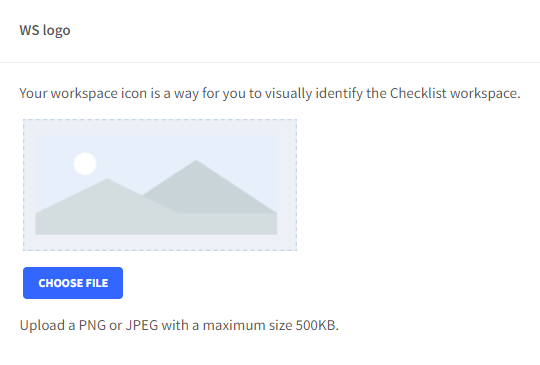
Your workspace icon is a way for you to visually identify your workspace. This can be customized at your convenience. To modify this setting, go to the “Admin” section in the side menu of your Dashboard and visit “General Settings” under “Workspace Management”.
Step 1: If you would like to add a new logo, click on ’Choose File’ button and upload your logo file (PNG or JPEG - under 500 KB). Your selected file will be displayed at prominent locations across dox2U interfaces for your workspace.
Step 2: If you would like to remove the logo altogether, click on “Remove logo”. Your customized logo will be removed.
Step 3: If you’d like to replace the existing logo with a new one, click on “Choose files” and select the new logo that you’d like to upload. The selected file will replace the existing logo.
Step 4: In either case, a dialogue box that pops us, press “Save” to continue with the change/remove logo process, or press “Cancel” to abort.
Joining a Workspace - Domain Invitation
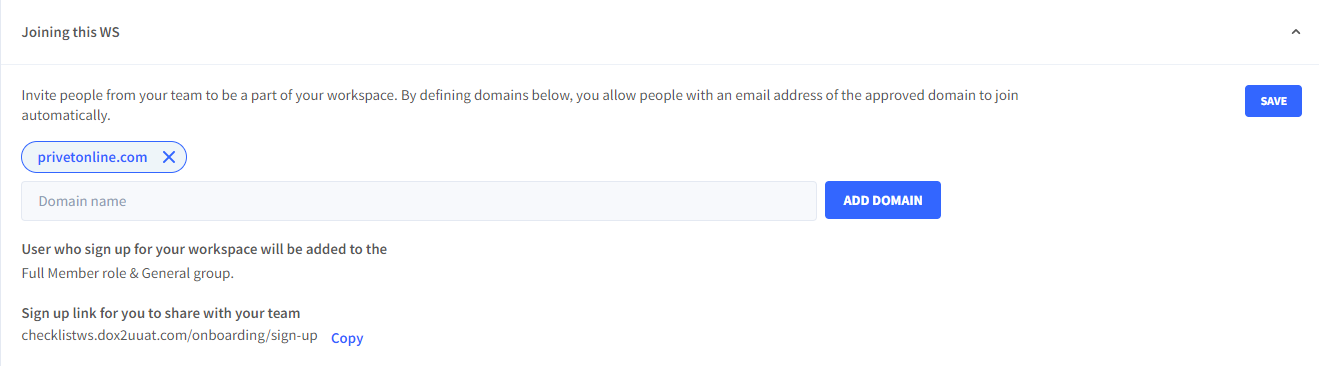
Using this setting, you can define specific domains (e.g. yourdomain.com) for allowing users having emails from those domains to join your workspace without having to send them an individual invite. This is especially useful if you have a large team to onboard dox2U.
To modify this setting, go to the “Admin” section in the side menu of your Dashboard and visit “General Settings” under “Workspace Management”.
Step 1: In the input box, type the domain you wish to allow access to. You can add more than one domain if you need.
Step 2: Once you’ve added your domain(s), press Save next to this setting to apply this change.
💡 You may choose to copy the sign-up link displayed here to members whom you’d like to join your workspace.
Setting Display Name Guidelines for Members in dox2U
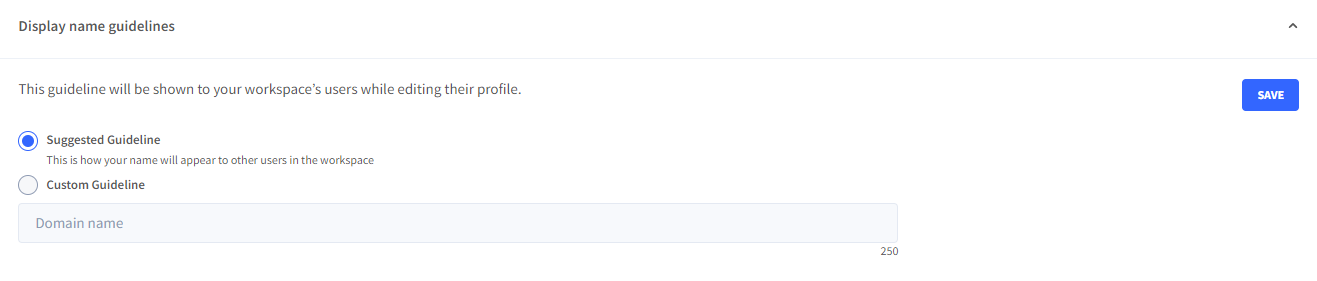
Display Name for a User is the name with which a User is identified across the workspace. This gives each User the flexibility to choose how they wish to be identified within their team. dox2U allows you to define a recommended guideline suggesting the usage of Display Names by your team members. This guideline will be shown as a suggestion to your members while they define their display names in their Profile information.
To modify this setting, go to the “Admin” section in the side menu of your Dashboard and visit “General Settings” under “Workspace Management”.
Step 1: dox2U has a suggested guideline defined. If you wish to use this, select “Suggested Guideline”. If you want to customize with your own guideline, select “Custom Guideline” and add your custom text.
For example: “You are requested to enter your Employee Code followed by your full name.”
Step 2: Press “Save”.
Setting Display E-mail address and Contact Number for Members in dox2U
dox2U allows you to standardize the information for each member in your team that’s visible to others. You may choose whether or not the e-mail address or contact number of your team members will be visible on display to other members.
To modify this setting, go to the “Admin” section in the side menu of your Dashboard and visit “General Settings” under “Workspace Management”.
Step 1: Choose whether to display users’ email address & contact number in their dox2U profiles. To activate, turn the toggle on; to deactivate turn the toggle off for either or both of them.
Step 2: Press “Save”.

Setting up Time zone for your dox2U Workspace
Setting up your Workspace Timezone is particularly useful ensuring all Date & Time stamps for activities in your workspace are displayed as per the chosen Timezone. This helps in bringing in uniformity for your team members (even if they are operating in different geographies).
To modify this setting, go to the “Admin” section in the side menu of your Dashboard and visit “General Settings” under “Workspace Management”.
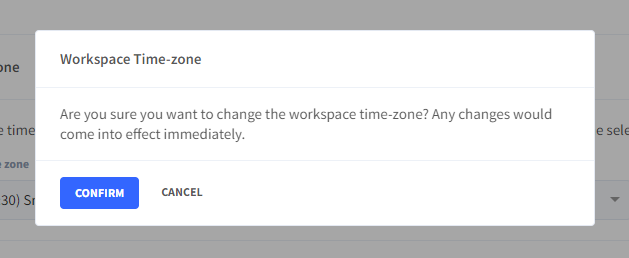
Step 1: Select the Timezone that you would like to implement and click “Save”.

Step 2: In the dialogue box that pops us, press “Save” to continue with the selected timezone or press “Cancel” to abort.
📓Please note -
Users can also define their individual Timezones as well but the Workspace Audit Log will register things per the Workspace Time Zone only.
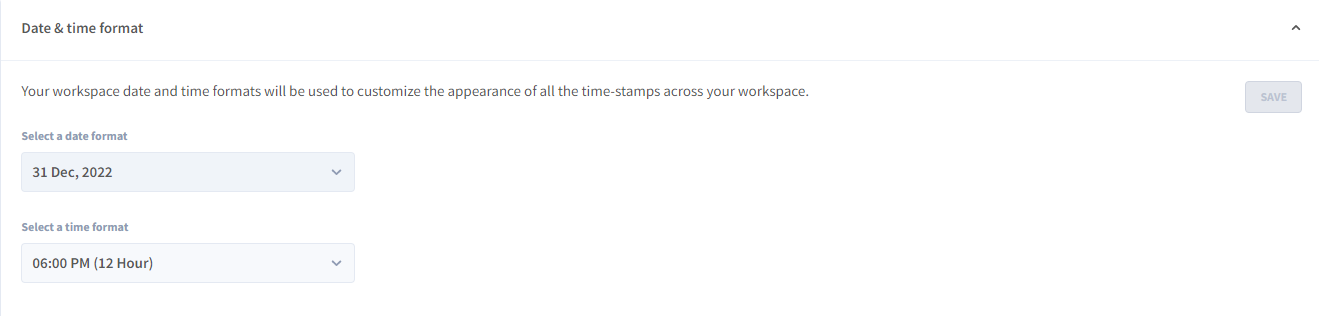
Date and Time Format
This setting helps you customize the format in which you want the Date & Time to be displayed across your workspace. Choose the one which suits your team the best.
To modify this setting, go to the “Admin” section in the side menu of your Dashboard and visit “General Settings” under “Workspace Management”.
Step 1: Select the format that you would like to implement and click “Save”.
Step 2: A notification reading “Date and Time format have been updated” will pop up as confirmation.
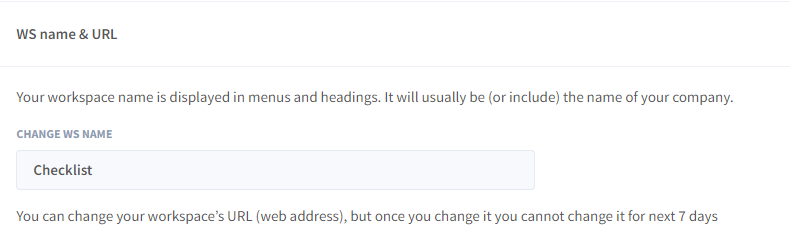
Changing Workspace Name and URL in dox2U
When your workspace was initially created, a ‘Workspace Name’ was chosen and defined by your Workspace Owner. This name, which is usually (or may include) the name of your organization, helps identify your workspace and is visible explicitly in all the menus and headings. It can be changed at any time at your convenience, although we recommend not exercising this frequently to avoid confusion with your team members. Similarly, a Workspace URL or the Unique Resource Locator is a unique web address that is assigned for your Workspace and can be used for you and your team to access your workspace from anywhere. Although customizable, changing the URL of your Workspace should be carried out only upon deliberating the impact it may have on your team being able to locate your workspace easily.
To modify this setting, go to the “Admin” section in the side menu of your Dashboard and visit “General Settings” under “Workspace Management”.
Step 1: If you would like to change the name of your Workspace, go to the “Change Workspace Name” bar and modify the name of your Workspace as desired.
Step 2: If you would like to change the name of the URL of your Workspace, go to “Change Workspace URL” and enter the new web-address you’d like to use.

💡Although you can change your workspace’s URL (web address), out of courtesy to your fellow dox2U users, you are advised not to do this too often.
Step 3: In the dialogue box that pops us, press “Save” to continue with the name-changing process or press “Cancel” to abort.
How to set an Audit Log Duration in dox2U
dox2U’s Audit Log lets you trace all activities performed in your workspace. This feature can be accessed by authorized members of the Workspace who have the rights for “Workspace Management” enabled. Using this setting, you can define the duration for which you would like to maintain the Audit Log for.
To modify this setting, go to the “Admin” section in the side menu of your Dashboard and visit “General Settings” under “Workspace Management”.
Step 1: Enter the number of days for which you’d like to record the audit log for your workspace and press “Save”

Step 2: In the dialogue box that pops us, press “Save” to continue with the setting of the Audit Log duration process or press “Cancel” to abort.
How to define Session Termination Duration in dox2U
Session Termination limit refers to the duration after which a User is automatically signed out of their workspace if the user remains idle (with no activity performed) during that duration. This allows to secure your information better by avoiding any potential misuse if a User accidentally leaves their workspace signed-in on their browser.
To modify this setting, go to the “Admin” section in the side menu of your Dashboard and visit “General Settings” under “Workspace Management”.
Step 1: Set your limit. You can set a duration of a pre-fixed limit i.e. a minimum of 10 minutes to a maximum of 90 minutes.

Step 2: Press ‘Save’.
A notification reading “Session Termination Limit Updated” will pop up as confirmation.